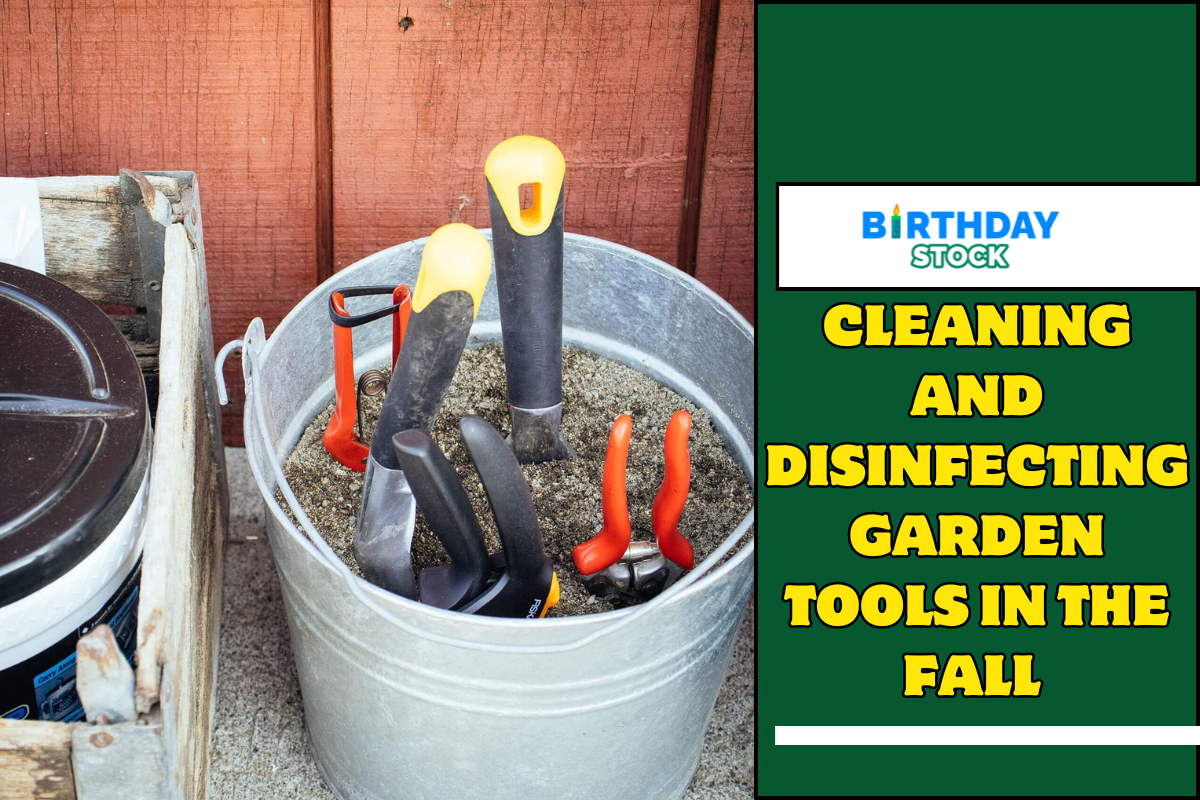
Cleaning And Disinfecting Garden Tools In The Fall: When the bright colors of fall come out and gardening activities slow down, it’s important to get your yard tools ready for winter.
Cleaning And Disinfecting Garden Tools In The Fall

Cleaning and disinfecting your tools the right way keeps them working and stops diseases and pests from spreading to your plants. This guide will show you the most important things you need to do to get your yard tools ready to store and use again later.
1. Gather Your Supplies
Get Your Supplies: Before you start, make sure you have everything you need. This list has a bucket, soap or light cleanser, a scrub brush, clean clothes or towels, a stiff-bristled brush, bleach or rubbing alcohol, and oil or spray for lubrication.

2. Remove Debris
Start by cleaning your yard tools of any dirt, mud, or other junk. To get rid of tough dirt, use a putty knife or a brush with stiff bristles.
In order to get dirt out of small tools like trowels and pruners, a wire brush or old toothbrush works well.

3. Soak in Soapy Water
Put some light soap or cleanser in a bucket and fill it with warm water. Soak the tools in the soapy water for ten to fifteen minutes to get rid of any dirt or grime that is still on them.
This step is very important for tools whose handles are made of wood or another open material.
4. Scrub and Rinse
Scrub the tools with a scrub brush or sponge to get rid of the loose dirt and grime. Pay extra attention to places where dirt likes to gather, like the teeth on a saw blade or the hinges of a pruner. To get rid of any soap residue, rinse the tools well with clean water.
Also See:
How To Keep Cosmos Blooming Strong – From Spring Until Fall
5. Disinfect
It’s time to cleanse the tools to get rid of any bacteria, fungus, or viruses that might still be on them after they’ve been cleaned.
Soap made with bleach or rubbing alcohol can be used for this step. To clean the metal parts of the tools with rubbing alcohol, just dip a clean cloth or paper towel into the alcohol and wipe them down.
In a bucket, mix one part bleach with nine parts water to make a bleach solution. Soak the tools’ metal parts for five to ten minutes. When you use bleach, make sure to wear gloves and work in a room with good air flow.
6. Dry Thoroughly
After cleaning the tools, let them dry completely in the air before putting them away.
Dry off any extra water with clean rags or blankets, being extra careful with wooden handles and other materials that can get damaged.
Drying your tools the right way keeps them in good shape by stopping rust and rusting.
7. Inspect for Damage
As you clean your tools, look them over to see if there are any signs of damage or wear. Look for rust or rusting, broken or bent parts, and screws or locks that aren’t tight.
Fix or replace any broken parts on your tools to make sure they are safe and work.
8. Sharpen Blades
For gardening to work well, you need to make sure that the blades on your trimming shears, loppers, and other cutting tools are always sharp.
Make the blade’s edge sharp with a sharpening stone or file, being careful to keep the angle of the bevel.
9. Apply Lubricating Oil
Finally, spray or put a thin layer of lubrication oil on the metal parts of your tools to keep them from rusting while you store them.
Spread the oil out evenly on the metal surfaces and wipe off any extra with a clean cloth or paper towel.
You can also put linseed oil on the handles of tools that are made of wood to keep the wood from drying out and breaking.
Conclusion
If you do these things, you can make sure that your yard tools are clean, germ-free, and in good shape for the winter. It will save you time and work when it’s time to start planting again in the spring if you take care of your tools now. With some work and care, you can make sure that your yard tools stay in great shape for many years.